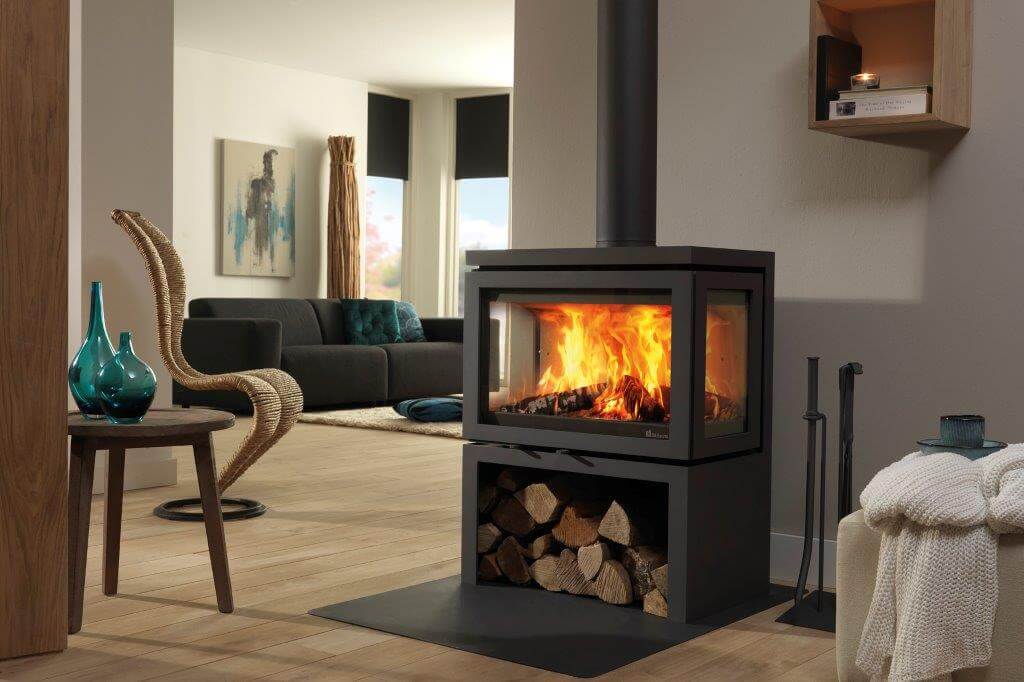
How To Make A Fire
We are often asked “How To Make A Fire?”
Weather it is a fire for your fireplace or on how to pack your wood for your outdoor fire, here is a step - by step guide on "how to make a fire".
What You Will Need To Start
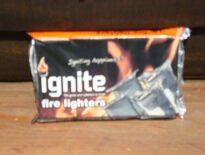
Firelighters
If used correctly, with Firelogs Kindeling, 1 packet of firelighters should be enough for about 8 fires.
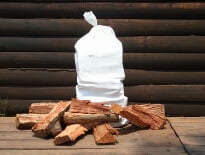
Kindeling
Kindeling is the small peaces of wood used to start the fire with the help firelighters. One bag of kindeling should be enough for 6 - 8 fire starts.
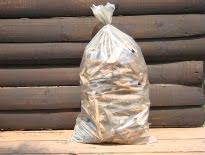
Dry Firewood
Dry firewood is very important to ensure effective burning in your fireplace.
Lets Start!
Open all the vents (closed combustion stoves) or the chimney vent (open fireplaces)
usually located on the side or at the back of the chimney
01
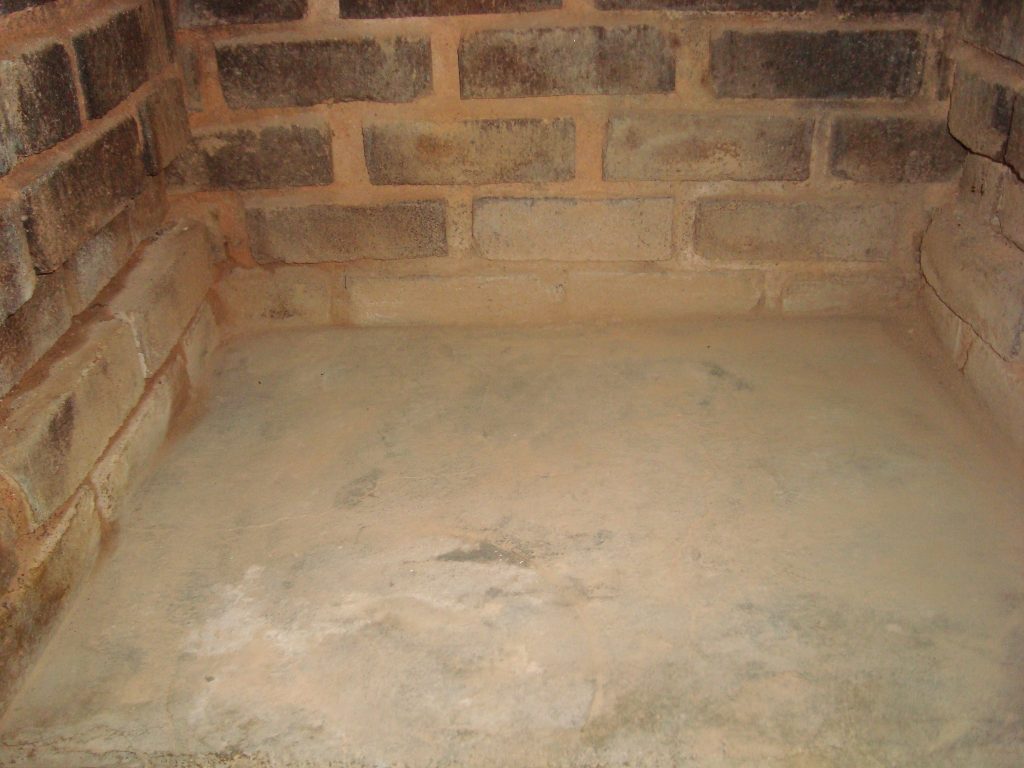
Clean Fireplace
Always ensure that your fireplace is clean and that all the vents are open.
02
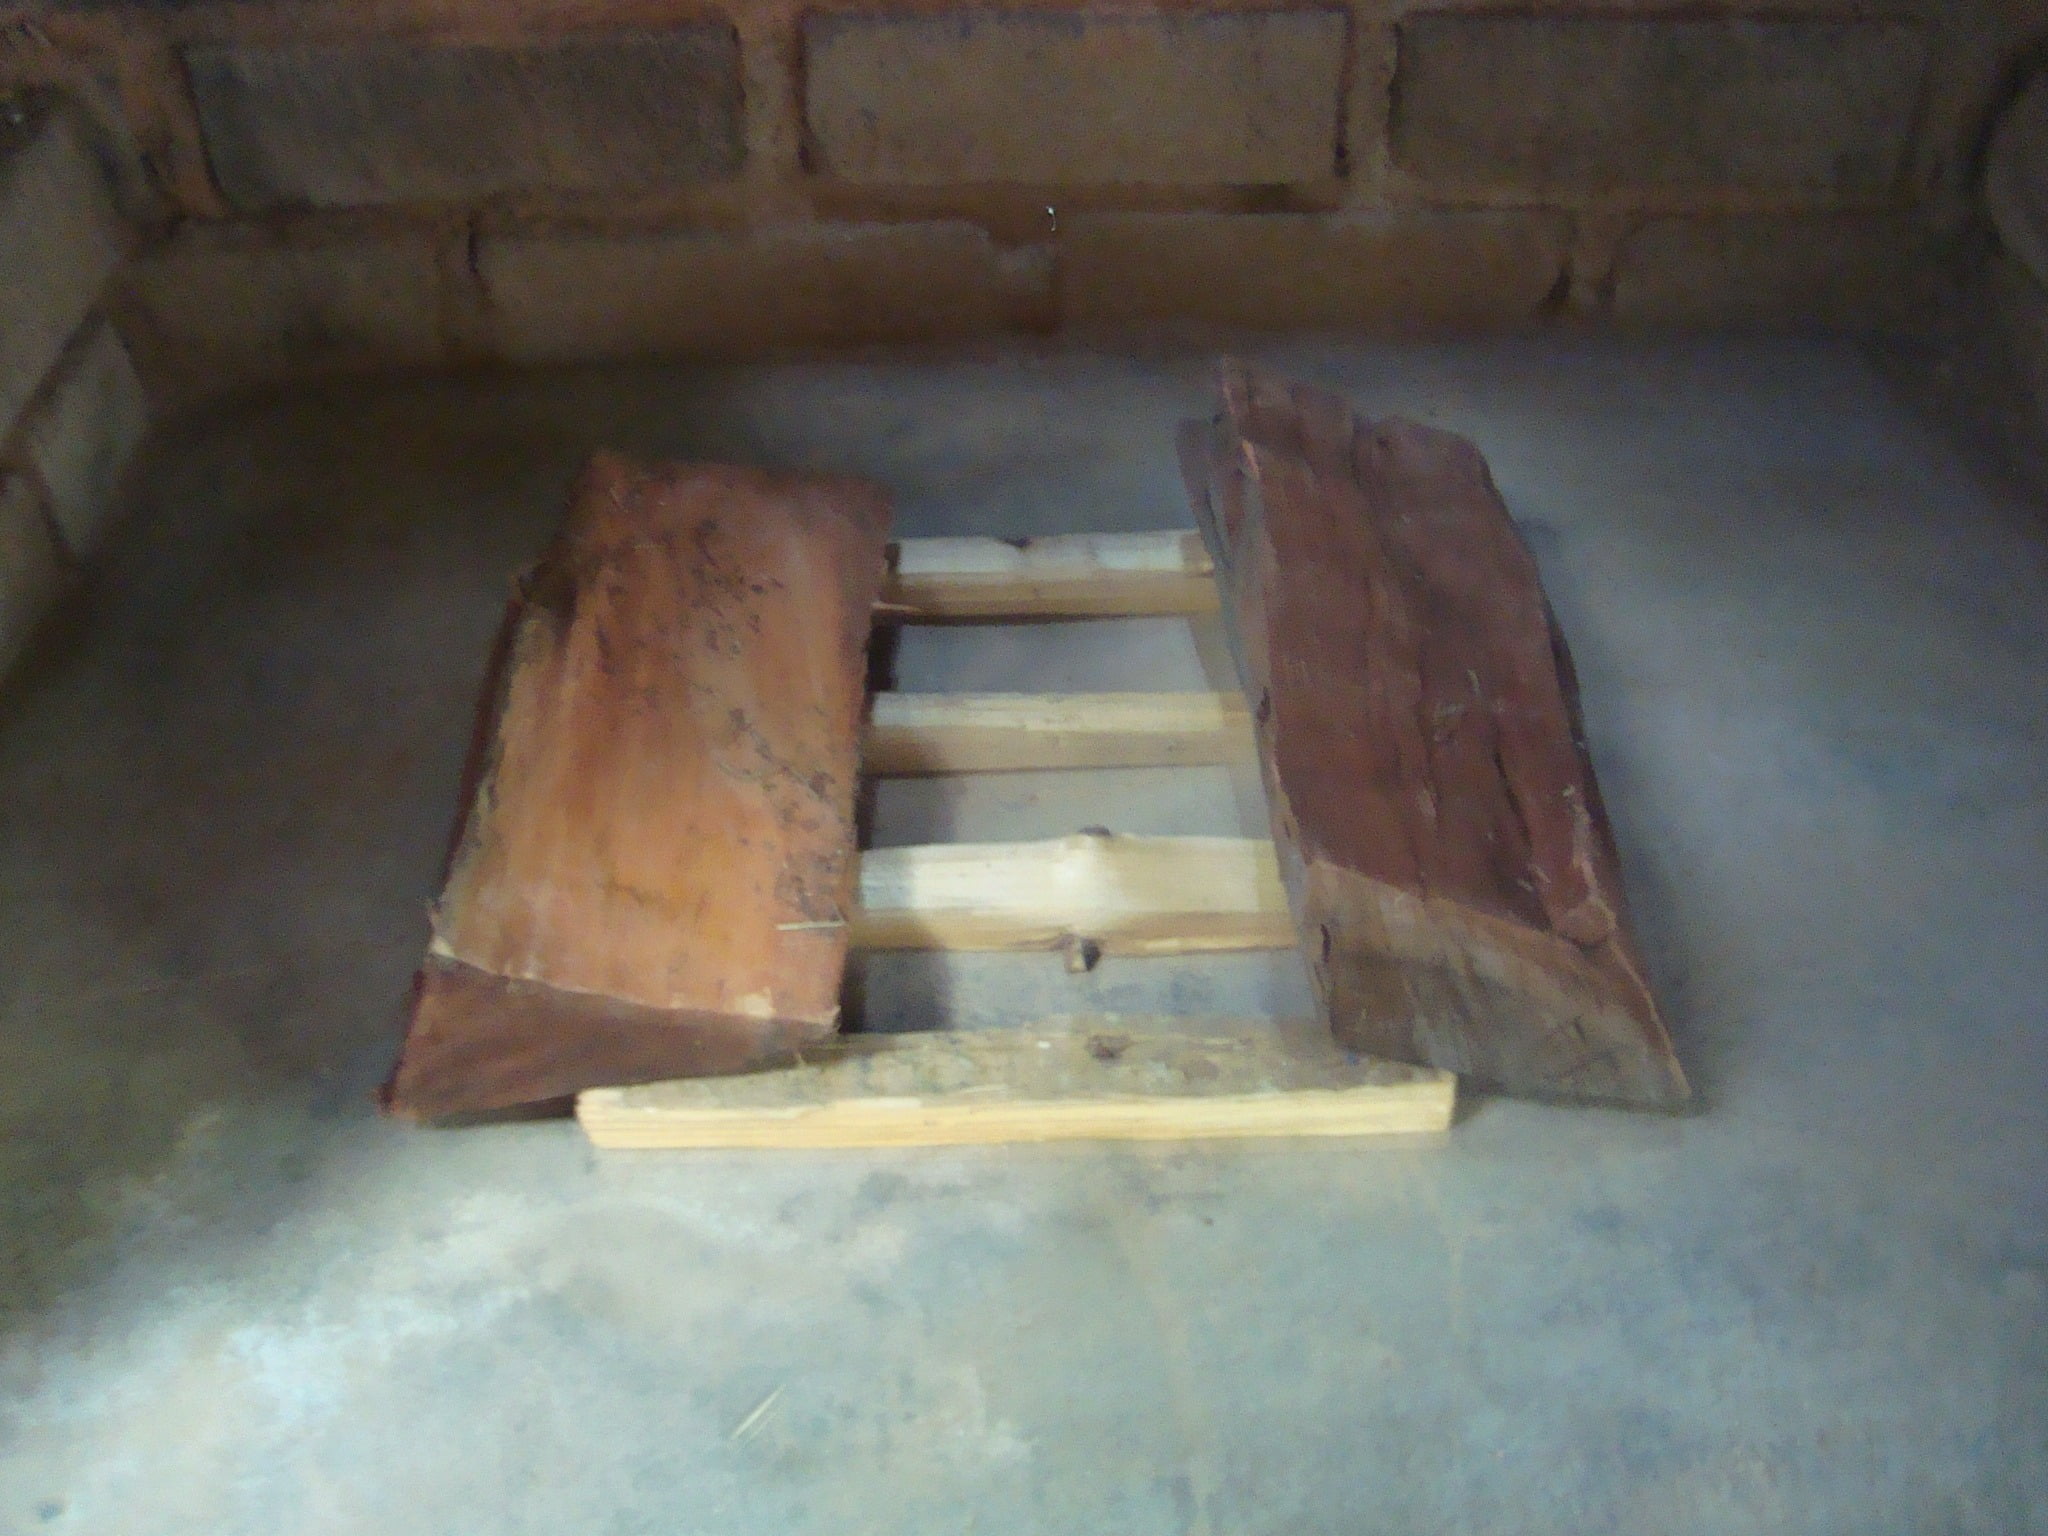
Firelighters
Place some kindeling in the middle of the fireplace, leaving some space in between them, always go through the bag of firewood and select the small to medium sized wood and place two pieces of wood on the kindeling in the opposite direction.
03
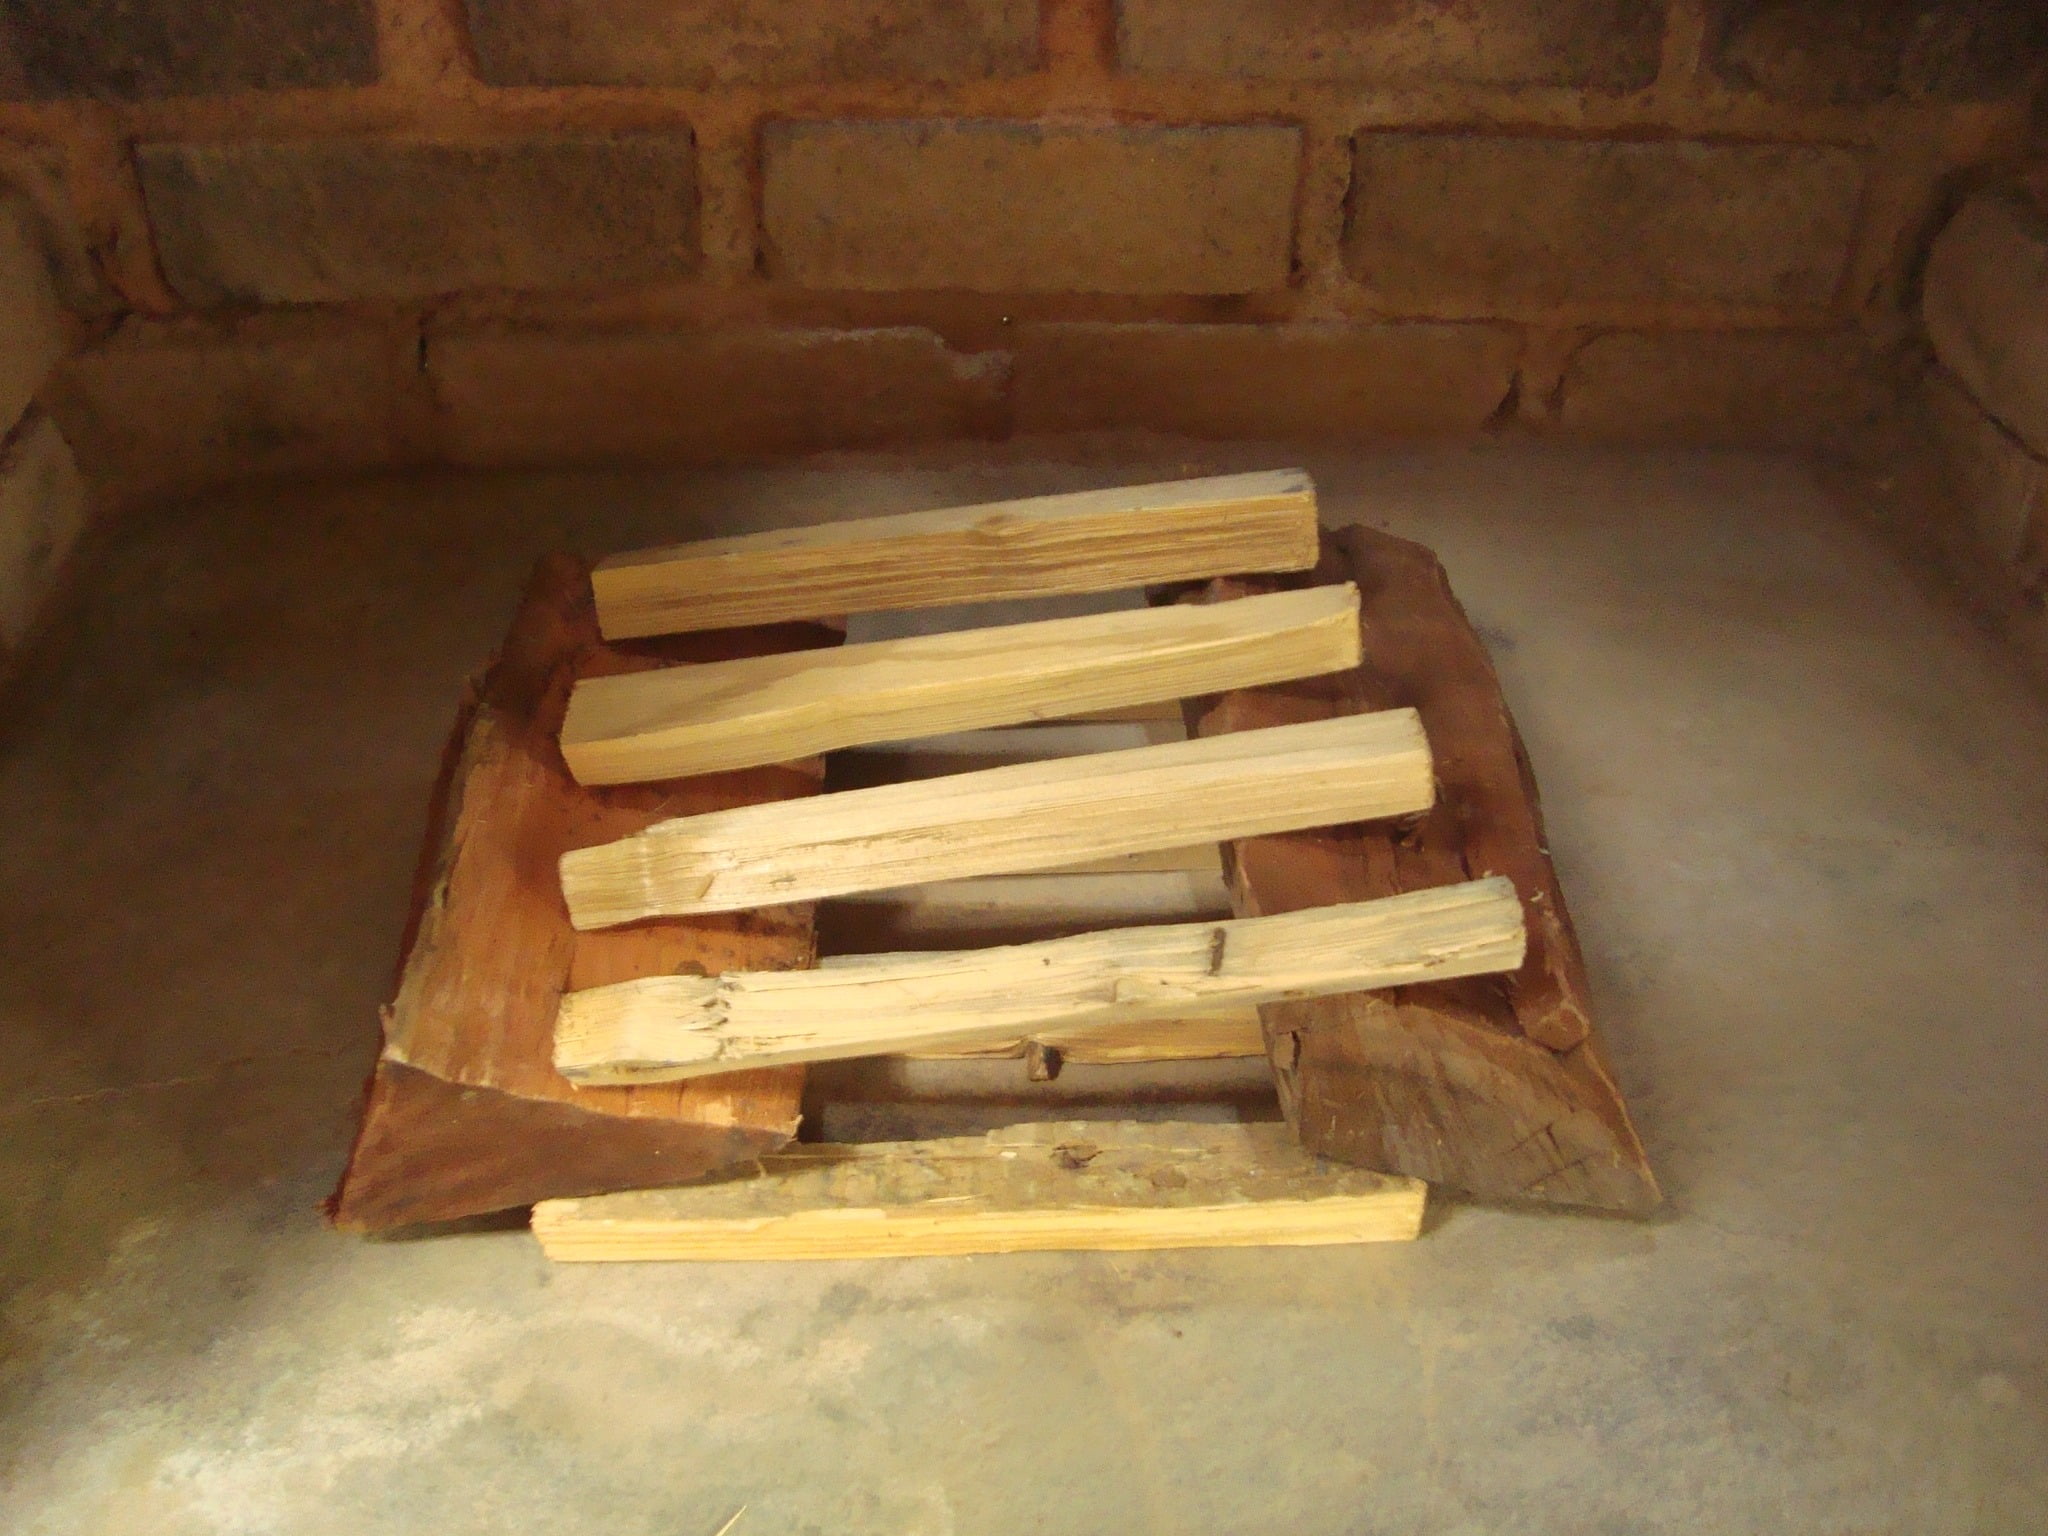
Kindeling
Place some more kindeling as per step 2 on top of the firewood in the same direction as the first layer.

04
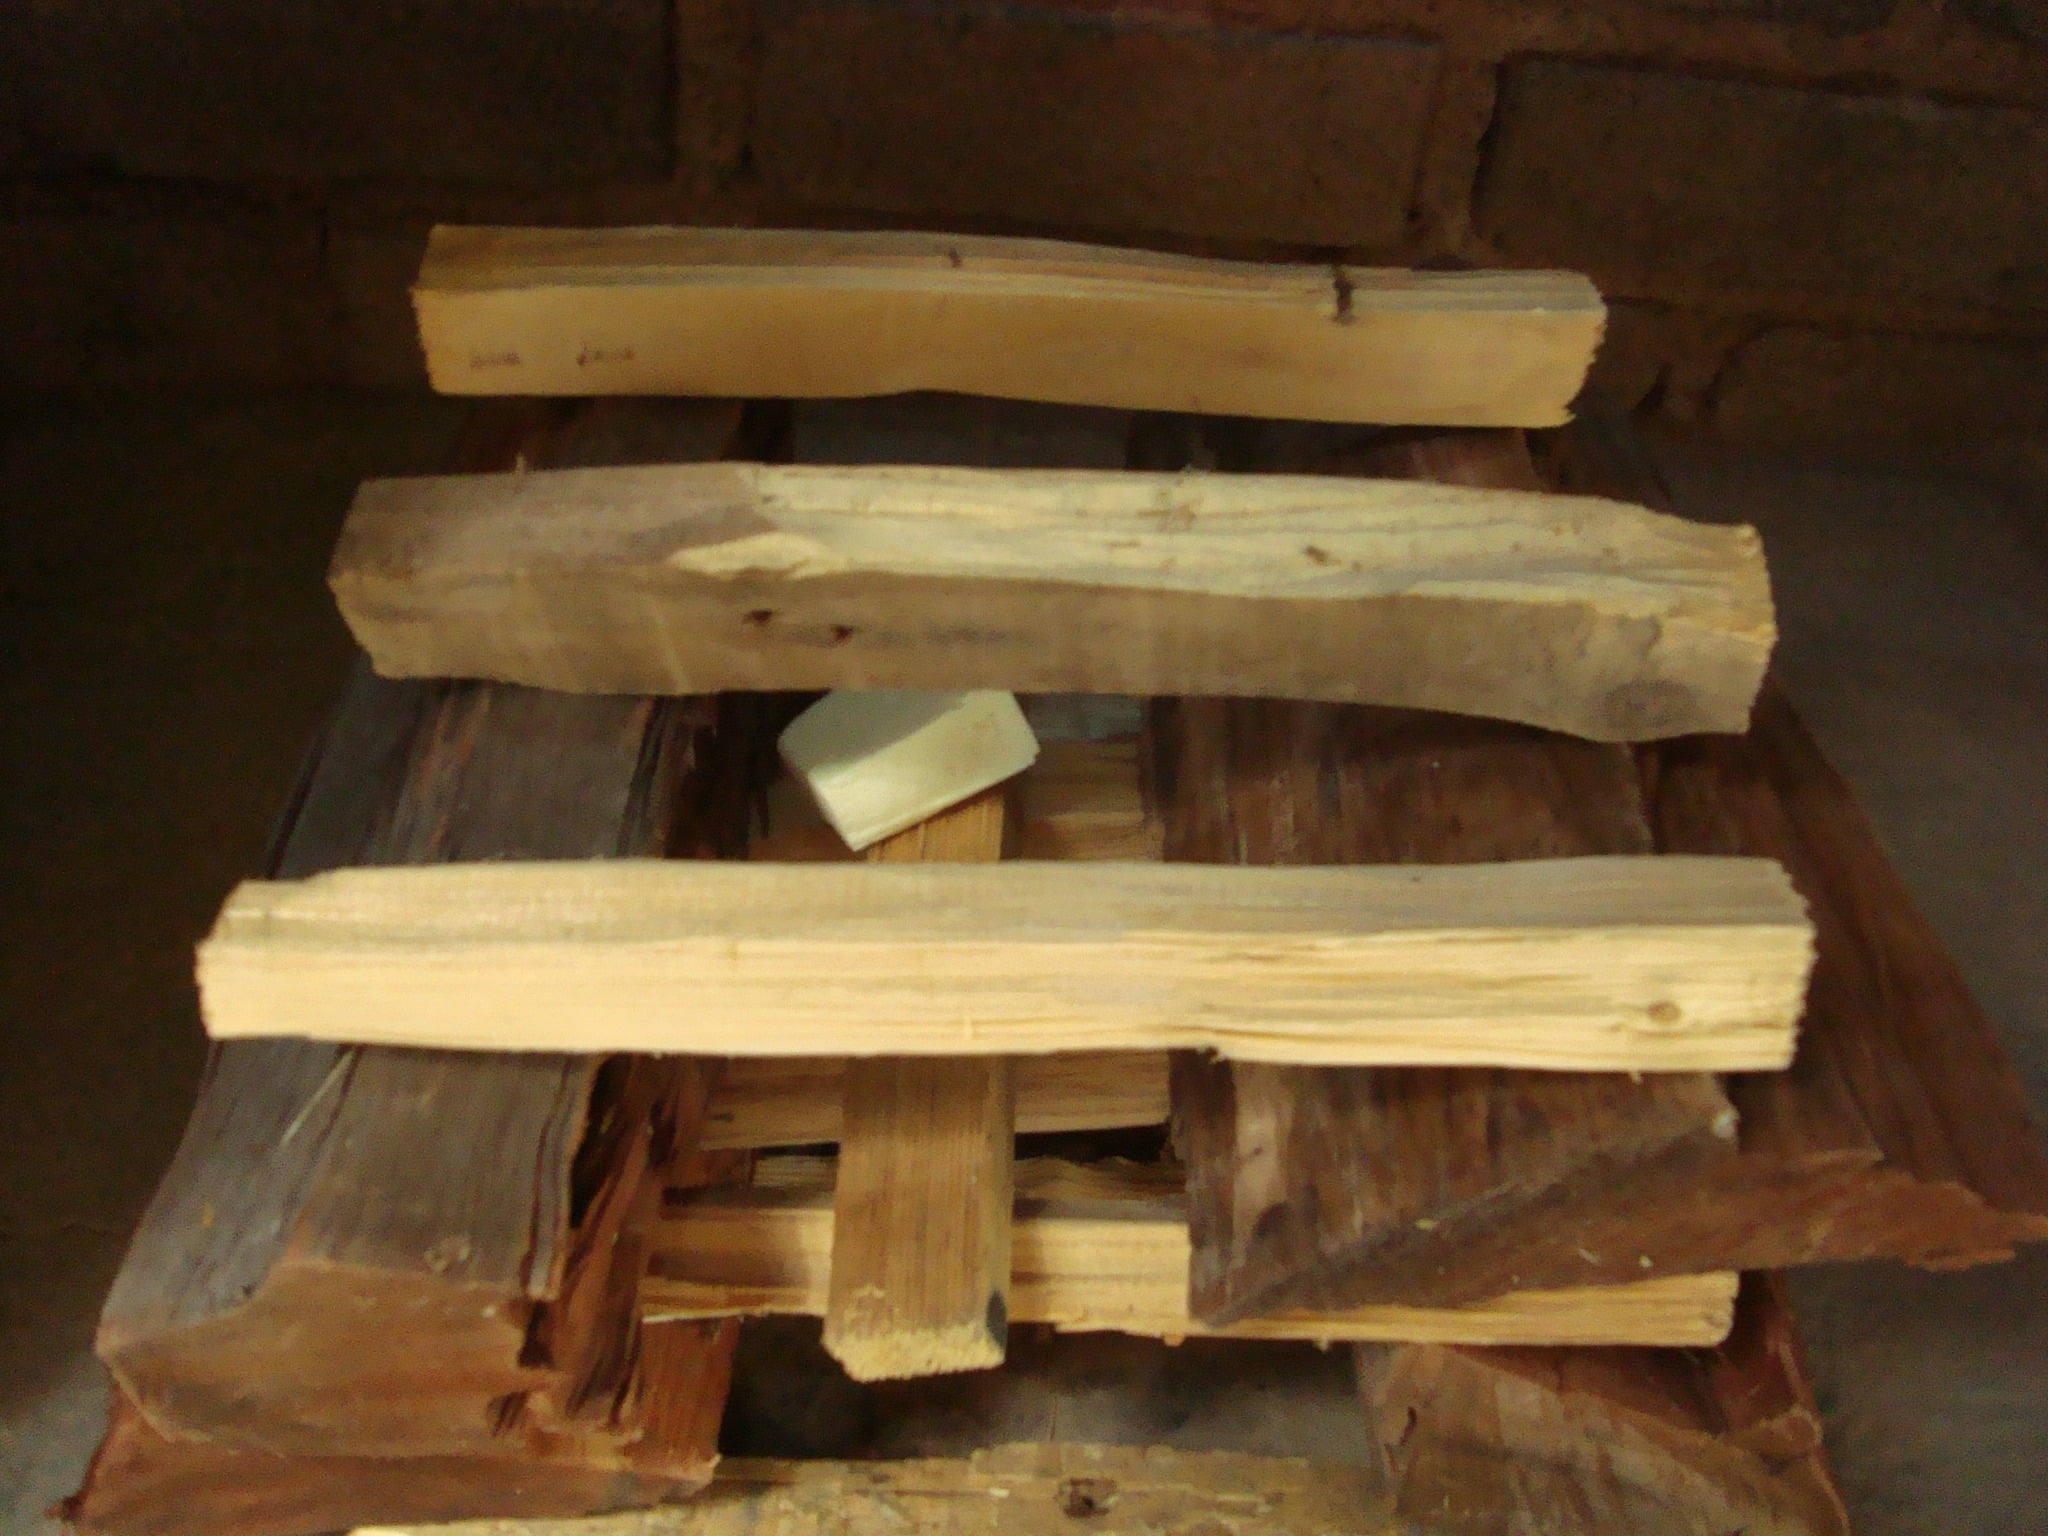
Add additional two pieces of firewood ( Small to Medium sized ) on top of the kindeling as well as some more kindeling.
Smaller Pieces
05
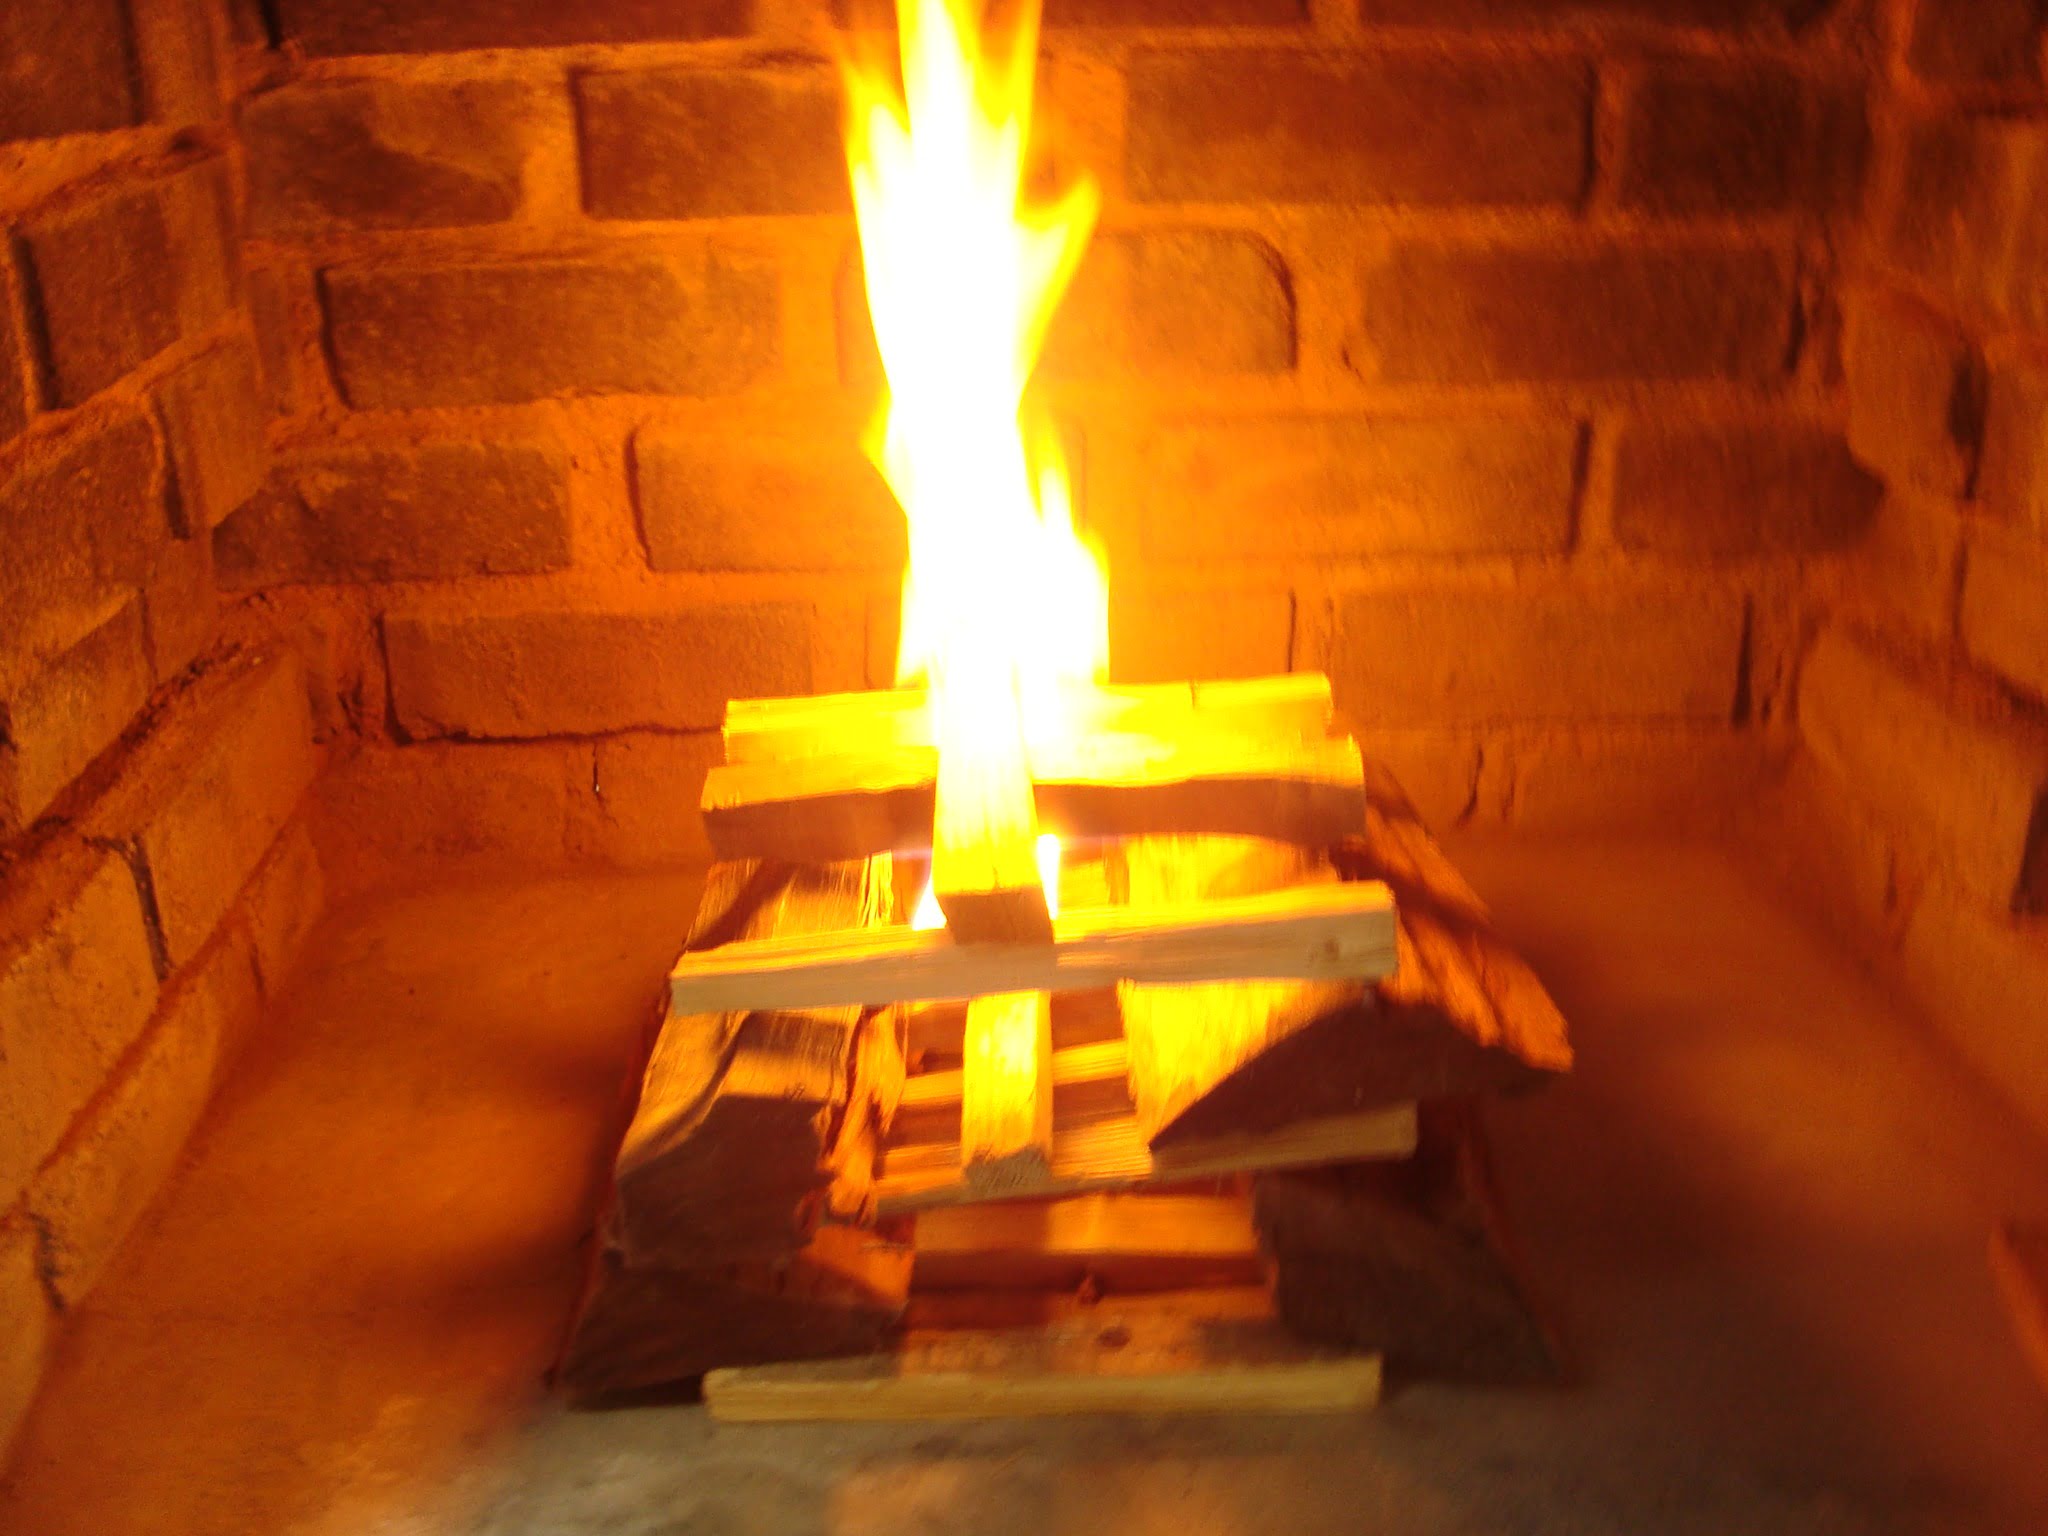
Take a piece of firelighter and place it in the middle of the kindeling.
Fire Lighter
06
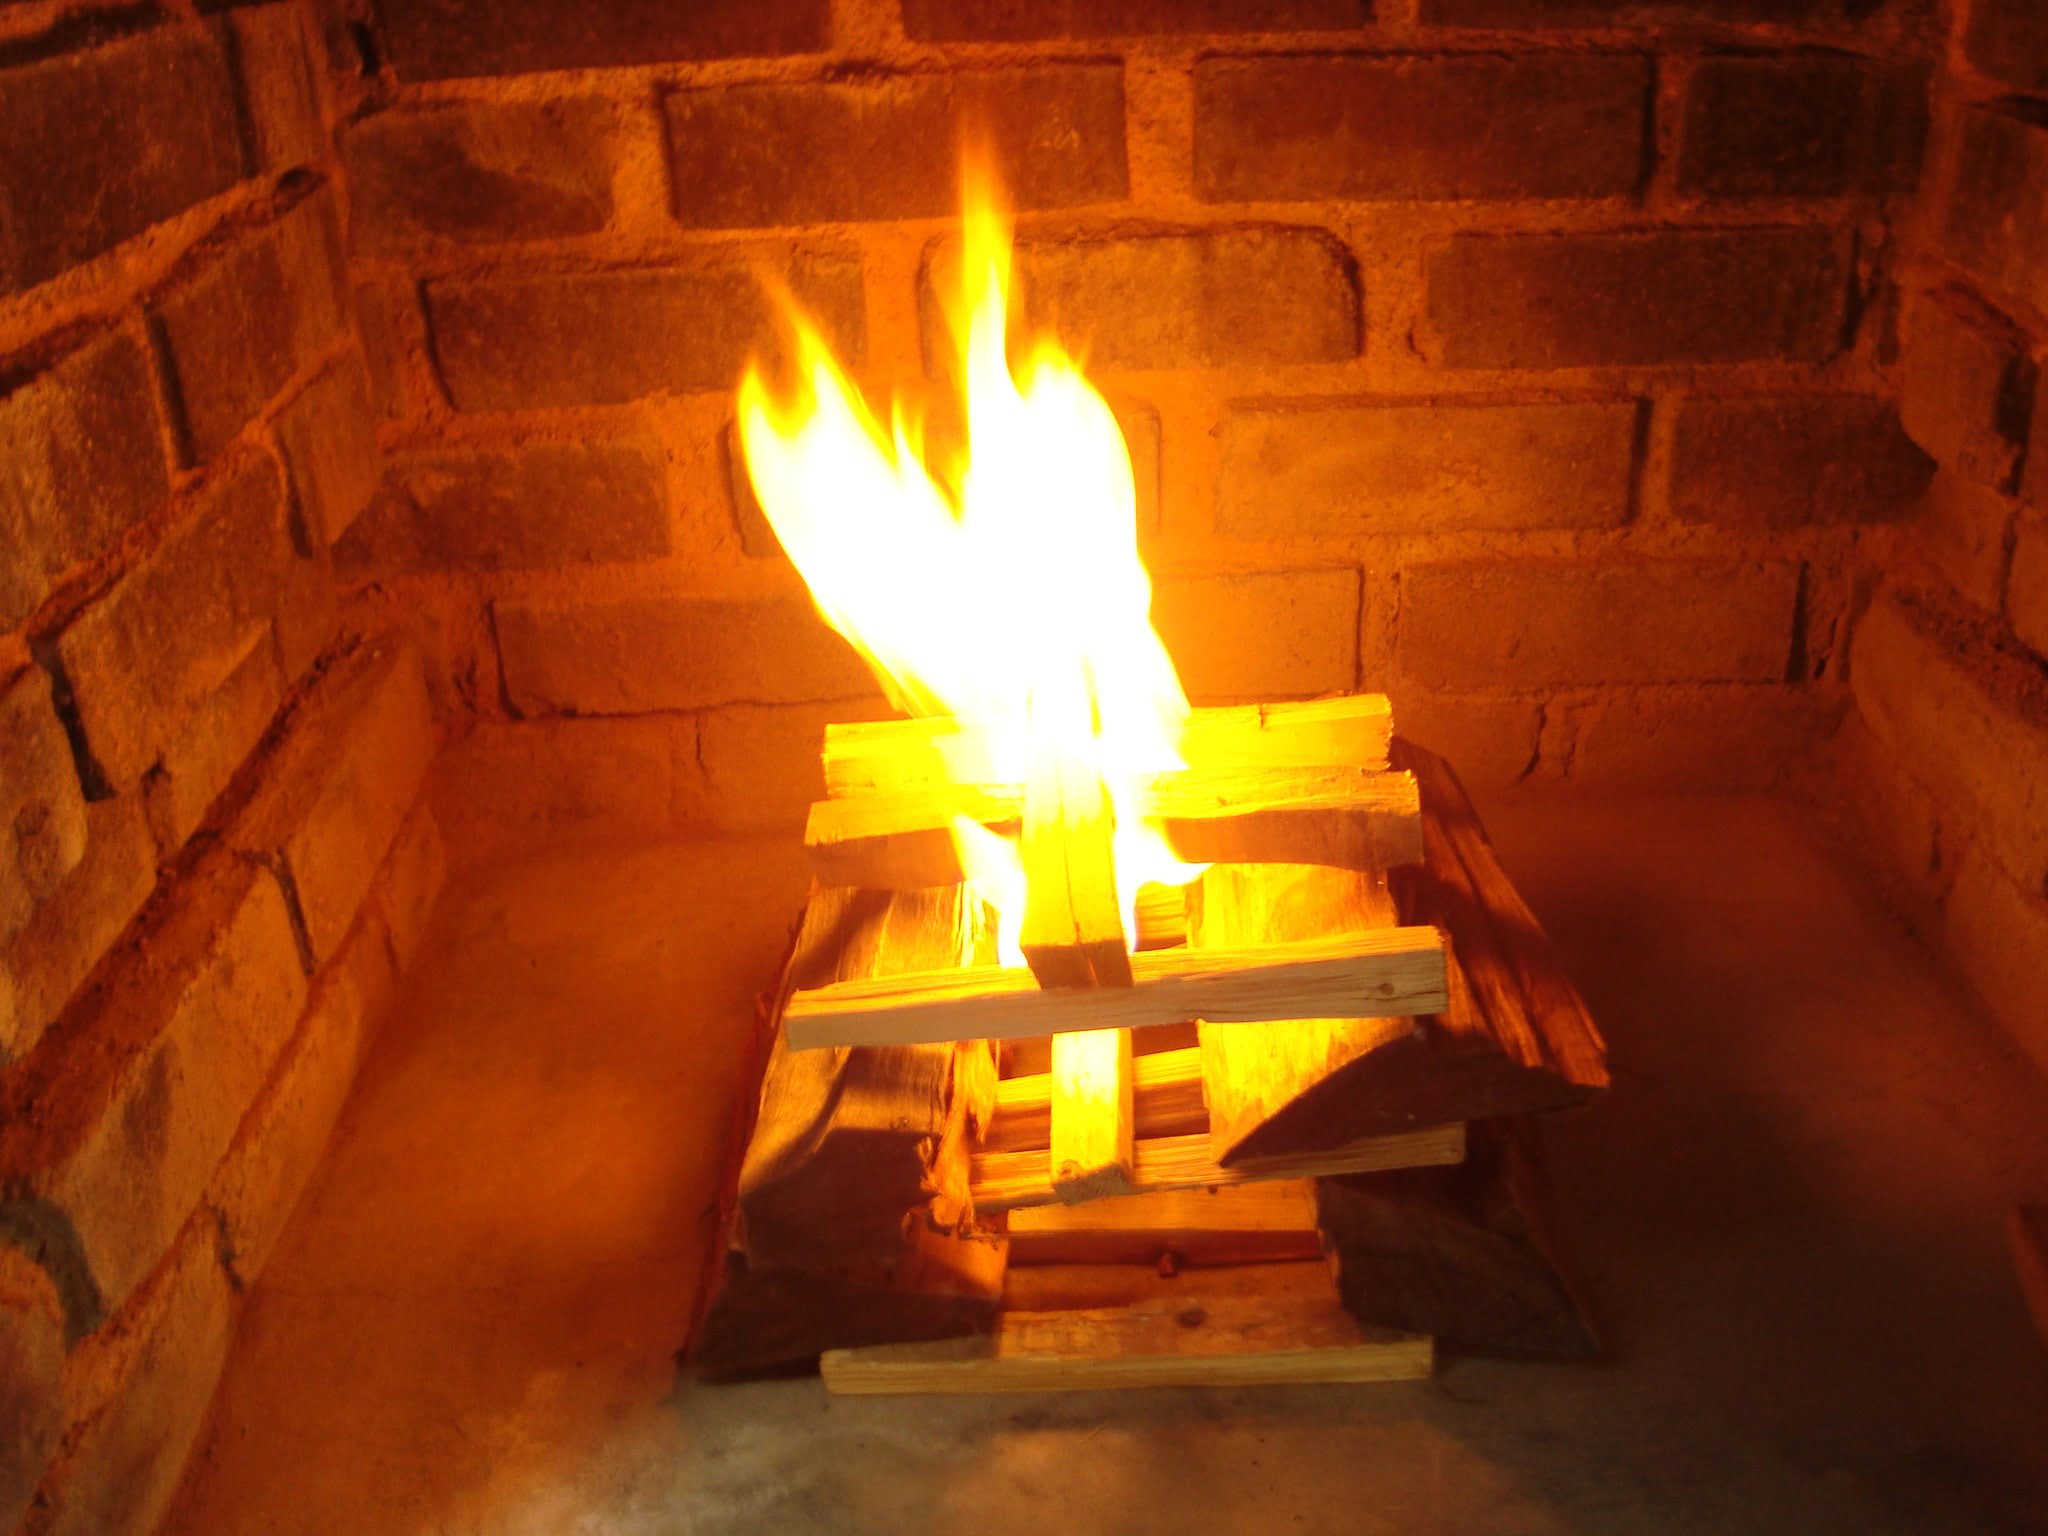
Light Firelighter
Lite the firelighter and add some extra kindeling in the middle of the fire.
07
Bigger Pieces
Wait about 10 – 15 min to allow the kindeling to ignite properly ( Closed combustion Ovens – DO NOT CLOSE THE DOOR/S) , After which you can add some smaller pieces of firewood to the fire.
Hints And Tips
Use Your Previous Days Ash
Do Not clean glass doors of closed stoves with Window lean or other household cleaning agents as well as pot or steel wool or scotch guards as this will scratch the glass, rather use a damp cloth, dab the cloth with the previous day ash and wipe the inside glass, by doing this before every use, will maintain your fireplace.
1: DO NOT START A FIRE WITH THE BIGGEST PIECS OF WOOD AS THIS WILL NOT WORK!
2: Paraffin based firelighters do have a shelve life, they dry out, please rotate your stock
accordingly.
3: Gas wands are NOT effective when starting a fire with BIG pieces of wood.
4:DO NOT BE IN A RUSH! – Start small and build the fire gradually until the fire is ready for bigger pieces.
5:DO NOT SMOOTHER the fire by putting on too much wood, this WILL only cause smoke and the fire will die due to lack of oxygen, allow the fire to breathe.
Burning in a new fireplace? ... NO PROBLEM!
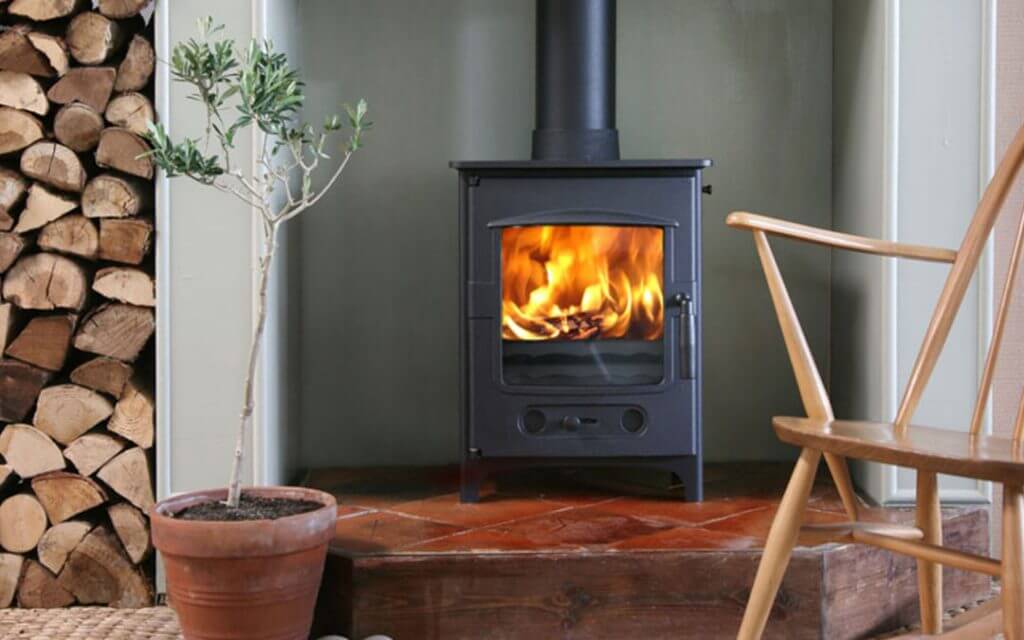
Closed Combustion Stoves Only - 1st Burning “The Burning In Phase”
Step 1: Start the fire as per above instructions, leaving all the vents and door/s open on the fireplace.
Step 2: Once the smaller pieces of wood have started to burn and the fire has become a “stand alone” fire, in other words, the fire is fueling itself and the firelighter has burned out +-
Step 3:: Allow the fire to become stronger by placing small pieces of wood onto the fire, you will notice that the flames are high and moving rapidly +-
Step 4: Close the door/s BUT NOT COMPLETELY , leave the door/s slightly open as this is the “ the burning in phase” the reason for this, is to allow the ropes on the inside of the door/s to settle.
Step 5: Place some more wood onto the fire and allow to burn, once your smell a faint” paint smell” the fireplace is ready about 4 hours.
Step 6: Allow the fire to burn out and cool down naturally, with the door open.
Closed Combustion Stoves - Normal Burning
Step 1: Start the fire as per above instructions, leaving all the vents and door/s open on the fireplace.
Step 2: Once the smaller pieces of wood have started to burn and the fire has become a “stand alone” fire, in other words, the fire is fueling itself and the firelighter has burned out +-
Step 3:: Allow the fire to become stronger by placing small pieces of wood onto the fire, you will notice that the flames are high and moving rapidly +-
Step 4: Close the door/s, immediately you will notice that the flame has dramatically dropped and should be burring about 1 cm above the wood and moving slowly, this is normal, at this stage, keep the vents open.
Allow the fire to “settle” and start closing the vents or dials in small increments, the more you close the vents/ dials, the slower the flame will be moving, Do NOT close all the vents as this will cut of the oxygen supply to the fire and the fire will go out!
Every time, you open the door/s to place more wood in, work back the vents / dials to their previous settings.
